
I've been thinking a lot about how I'm going to survive the winter. Not the typical storing of nuts for winter type of thinking, but how will I have to adjust my woodworking around the frosty template of the season. I think I have enough space to move and store my break down temporary work bench in here, so that might be the solution. The big problem is to move it inside and not make it look like a workbench, how will I make it look good? Such problems can spend a little more time being pondered, the season hasn't completely taken over, although my toes are cold. (hate that)
The tool auction yesterday was cool. It was more of an estate sale full of metal working tools and the like, not the woodworking tool auction I assumed it was. (Which is completely my fault, I have a habit of rushing through emails and missing the details. lol) I did pick up some calipers and a really sweet center finder for a decent price. I also ended bidding on the wrong C clamps and now have some extra large monster clamps to throw on Craigslist. Doh! It was a good time with a few other local woodworkers, however, and I'm glad I went.
I'm hoping the weather warms up a little bit so I can sharpen the turning tools for tomorrow's Lathe session with the HOW group and hone my edges on all my planes and chisels that I used during the bench plane shelf project. I also need find some scrap to make a couple of winding sticks/straight edges...lots of stuff to do, but for now I'm content to stay inside, watch a movie, and write the blog, so here it is... :D
Bench Plane Shelf - Phase 2
Joinery
Joinery
I start by laying out shallow dadoes in the shelf sides for Velcro straps to sit when the bench planes are tied down during transportation, The dadoes are 1/2 inch deep and 1 inch wide, set at even intervals on the shelves. There are three tie down locations on the short shelves and four on the long shelves, evenly spaced, not restricting me to place certain planes in specific locations and allowing for expansion of the plane collection.

I use a smaller crosscut to saw down sides of the dadoes. They aren't going to be noticeably visible, so exact cuts are not required, however, I still do the best I can to save me the hassle of coming back later to clean them up.

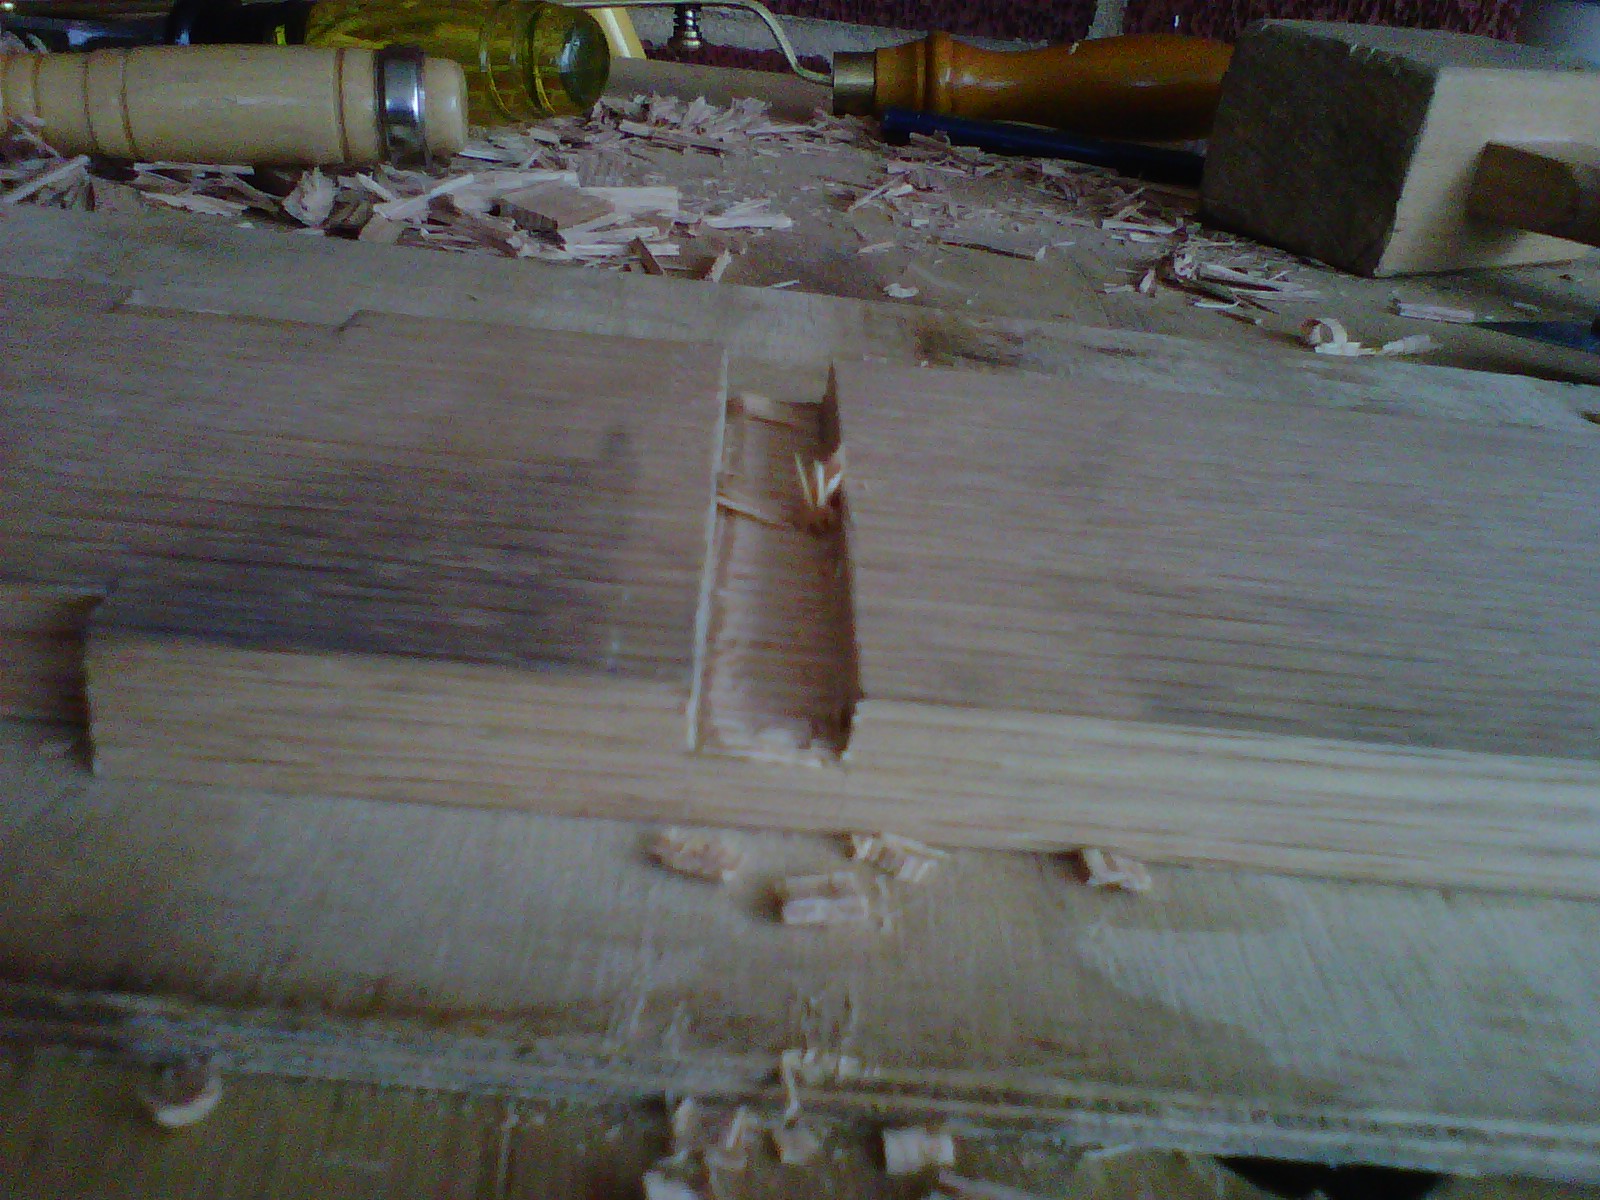
Using a chisel I pare away the waste from one side, using the wood on the other side to stop tear out that would be caused by powering all the way through in one shot.

Turning the board over, I pare the rest of the waste away.

All six dadoes are finished in one off the shorter shelves.

With the dadoes needed for the tie down straps complete, I begin the dadoes required to fit the shelves to the frame. The dadoes are laid out using a marking knife and then chiseled down slowly, repeating the process until the dado is at the depth required. I set all my dadoes at a depth of 1/4 inch to keep things simple, but essentially a depth of 3/16 is all that is needed

Once I get to the bottom of the marked out area, I bring in the router plane to even up the bottom of the dado. (I really need to degrease and hone the sole of the router plane...look at how dirty it made the board.) This picture is the bottom side of the lower most of the longer shelves. This dado will be used to hold the short section of frame that goes around the area for the fire extinguisher. All the remaining dadoes that will be cut in the sides to support the shelves will be stop dadoes, meaning that the joinery used will not be visible from the front. The dado on the bottom of this shelf will be covered by the face frame, allowing me to cut it all the way through, which is a little easier.

With all the joinery cut and fitted using the shelves...

It is time to dry fit of the whole unit.

I even set it inside the RV to ensure the size and fit are exactly what I was wanting.


Looks good! Next time, I'll talk about the finishing touches and the staining. :D (Just in time too...I have to plug my laptop in.)
Hope you like it so far.
No comments:
Post a Comment
Let me know what you think! Comments and suggestions are always welcome!